How to install KVM in Ubuntu Linux
Case
You need to install the KVM hypervisor in Ubuntu Linux. For the purpose of this demo I will be deploying KVM in Ubuntu Linux LTS server, as shown below.

However you can follow the same procedure on any Linux platform, making any adjustments related to the package management system used by your distribution (e.g. deb vs rpm). This article offers step-by-step instructions on how to install KVM in Ubuntu Linux.
Solution
First check if your Ubuntu server or desktop installation supports virtualization by running the below command. You need to get a result which is greater than 0, to ensure that your system supports virtualization.
egrep -c '(vmx|svm)' /proc/cpuinfo

Run the following command to ensure that kvm can be supported and installed on your machine. If the kvm-ok command is not available it should be installed as part of the cpu-checker deb package.

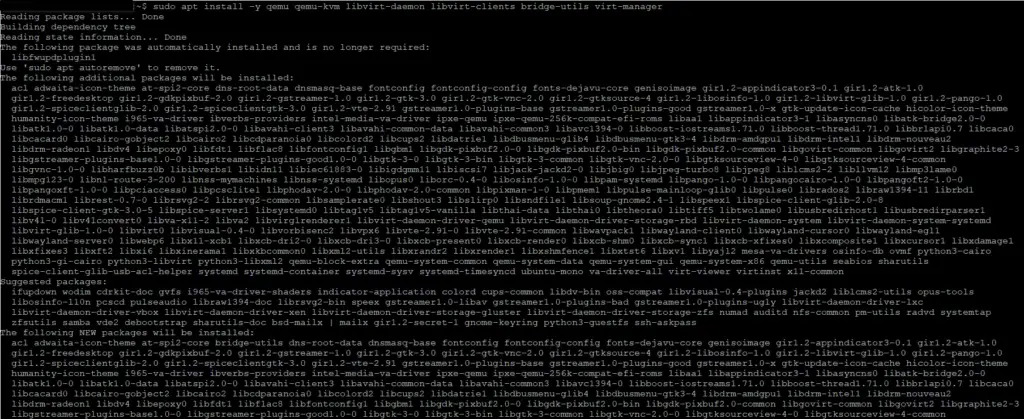
 You are now ready to install the KVM-related packages to enable KVM virtualization in your Ubuntu system. Run the command below.
sudo apt install -y qemu qemu-kvm libvirt-daemon libvirt-clients bridge-utils virt-manager

After successful installation of the KVM packages and dependencies, ensure that the libvirt deamon is configured to start automatically at system boot and that it is running, before moving on with remaining configuration steps.
sudo systemctl enable --now libvirtd
sudo systemctl status libvirtd

After confirming that the KVM modules are loaded in your system and getting information about the available guest operating systems, you can run virt-manager to start creating your KVM virtual machines.
lsmod | grep -i kvm
osinfo-query os


If you don't have a graphical environment in your Linux system, you can alternatively run the virt-install command to deploy virtual machines under KVM.

https://stefanos.cloud/kb/how-to-install-kvm-in-ubuntu-linux/
Comments
Post a Comment